 Lynden Exterior
 Building New in Maple Falls? The Windows Need to Match the Climate, Not Just the Floor Plan
Maple Falls sits at the foothills end of the Whatcom County building market, and it gets a different weather diet than the flatter ground around Lynden. More tree cover, more shade, more standing moisture on north-facing walls, and a longer stretch of the year where things just don't fully dry out. Whatcom County as a whole deals with driving rain off the water and a moss season that can run half the year; up near Maple Falls that dampness lingers longer under the canopy. If you're framing a new home or an addition out here, the window package you choose and how it's installed into the rough opening matters as much as the window itself.
New-construction windows are not the same product, installed the same way, as a replacement window dropped into an existing wall. They're set before the siding goes on, they tie directly into the house wrap and flashing system, and any mistake made at that stage gets buried behind trim and siding for years before it shows up as a stain, a soft spot, or a draft. We install new-construction windows on builds and additions throughout the Lynden area, including out toward Maple Falls, and this page covers what that job actually involves here.
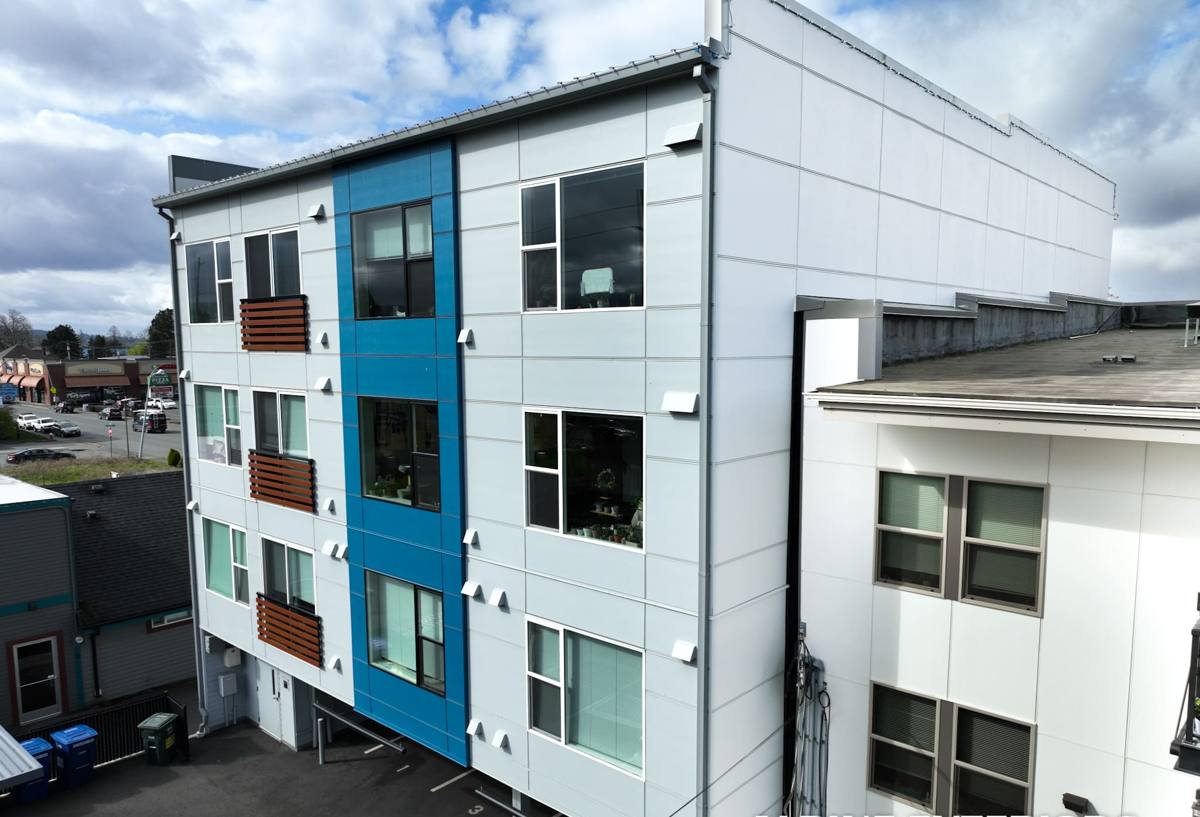
New-Construction vs. Replacement: Why the Distinction Matters
"New construction" refers to a window built with a nailing flange — a flat strip around the frame that gets fastened directly to the wall sheathing before the weather-resistive barrier and siding are installed. This is different from a replacement or "pocket" window, which is sized to slide into an existing frame without disturbing the surrounding wall finish.
Why It Matters for a New Build
On a new build or a true addition, using the nail-fin, new-construction approach gives us access to the full wall assembly — sheathing, weather barrier, flashing tape, and sill pan — before anything is closed up. That access is the whole advantage. It lets us build a drainage path for water that actually works, rather than relying on caulk alone to keep moisture out. In a climate that sees sustained rain events, that drainage path is what keeps a window opening dry ten and twenty years down the road.
Where People Get This Wrong
We occasionally get called to look at a newer home where a replacement-style window was set into new framing, or a nail-fin window was installed without proper flashing sequencing, because it was faster on a tight framing schedule. Both save time up front and both create a wall that can trap water instead of shedding it. On new construction, the flashing details are not optional extras — they're the actual weatherproofing system.
What Maple Falls Homes Specifically Need From a Window Install
Sustained Moisture and a Long Moss Season
Whatcom County's moss season runs long, and out toward Maple Falls, with more shade and cooler pockets, surfaces stay damp longer than they do closer to town. That doesn't mean the window itself grows moss, but it does mean the wall assembly around the window is dealing with more sustained moisture exposure over the course of a year. A sloped sill pan, correctly lapped flashing, and a drainage gap behind the siding matter more here than they would in a drier climate, because the assembly has less time each year to dry out between rain events.
Driving Rain and Wind Exposure
Whatcom County gets driving rain — wind-driven water that doesn't just fall straight down but gets pushed sideways against the wall, including up under trim and around window edges. On a new build, we account for this with continuous flashing tape at the head, jambs, and sill, integrated with the house wrap so water is directed out and down rather than finding a path inward. This is standard good practice everywhere, but it's not optional in a climate where wind-driven rain is a regular event rather than an occasional storm.
Coordinating With the Framing and Siding Schedule
New-construction window installs don't happen in isolation — they sit in the middle of the framing-to-siding sequence. We work with the framing crew's timeline so windows go in at the right point: after sheathing and house wrap, before siding closes the wall up. Get that sequencing wrong and you either delay the whole exterior schedule or you rush the flashing details to keep pace, which is exactly where mistakes get buried.
Choosing the Right Window Materials for This Climate
Frame material is a real decision on new construction, not just a style choice, because the frame has to hold up to years of damp exposure and temperature swings between summer heat and cold, wet winters. Here's how the common options generally compare for a Whatcom County build:
| Frame Material | Moisture Performance | Maintenance | Typical Cost Position |
|---|---|---|---|
| Vinyl | Good — won't rot, minimal water absorption | Low; occasional cleaning | Most affordable |
| Fiberglass | Excellent — very stable in wet/dry cycles, low expansion | Low | Mid to upper range |
| Wood-clad (exterior clad) | Good on the exterior face, but seams and cladding joints need correct detailing | Moderate — interior wood may need occasional attention | Upper range |
| Aluminum | Poor thermal performance in cold, wet climates unless thermally broken | Low, but condensation risk without thermal break | Varies |
We don't push homeowners toward one brand or product line as a blanket rule. What we do insist on is a frame material and glazing package that's a reasonable match for a wet, moderate-temperature climate, installed with correct flashing regardless of which material you choose. A great window installed with a shortcut flashing job will fail before an average window installed correctly.
Glazing Considerations
Double-pane, low-E glass with argon fill is the standard baseline for new construction in this climate — it manages both the region's mild-but-persistent cold and the condensation risk that comes with high humidity. On a north-facing wall or a shaded lot, which describes a fair number of Maple Falls building sites, a slightly higher-performance glazing package can reduce interior condensation on cold mornings.
Our New-Construction Window Installation Process
- Rough opening check. We verify the opening is square, correctly sized, and structurally ready before the window ever goes in.
- Sill pan installation. A sloped, sealed sill pan is set first, so any water that gets past the window has a built-in path back outside.
- Flashing integration. Flashing tape is applied at the sill, jambs, and head, lapped correctly with the house wrap in the right order — bottom to top — so water always sheds downward and outward.
- Window setting and fastening. The window is set plumb and level, fastened through the nailing flange per manufacturer spec, and shimmed so the frame isn't under stress.
- Air sealing. Gaps between the frame and rough opening are sealed on the interior side to control air leakage without trapping moisture in the wall cavity.
- Exterior trim and final flashing. Head flashing and trim are installed to shed water away from the top of the window before siding closes in around it.
- Final inspection. We check operation, seal integrity, and flashing laps before the crew moves on to siding.
What a Correct Installation Includes — A Practical Checklist
If you're comparing bids or checking work on your own build, these are the details that separate a correct new-construction window install from one that just "looks finished":
- Sloped sill pan present under every window, not just caulk on a flat sill
- Flashing tape lapped bottom-to-top with the house wrap — never reversed
- Window set plumb, level, and square, with shims relieving any frame stress
- No gaps or unsealed penetrations at the nailing flange
- Head flashing installed above the window, integrated with the water-resistive barrier
- Interior air sealing done without blocking the drainage path in the wall
- Manufacturer's installation instructions followed for fastener type, spacing, and shim placement
Why It Matters to Hire a Crew That Already Works Out Here
Maple Falls building sites vary — more tree cover, more shaded exposures, different site drainage than a lot in town. A crew that regularly works this stretch of Whatcom County has already seen how these conditions play out on the wall assembly a few years after the fact, not just on installation day. That experience shows up in small decisions: where to add extra flashing detail on a north-facing wall, when a glazing upgrade is worth it for a shaded lot, how to sequence around a framing crew's schedule without cutting a corner to keep pace.
It also matters for follow-up. New-construction window work is one part of a larger building envelope, and if a question comes up two or three years after move-in — a drafty spot, a bit of condensation, a trim detail that needs attention — it helps to have worked with a local crew that's still around and familiar with the property, rather than chasing down whoever happened to win the framing-stage bid.
Maintenance After the Build Is Done
Once the home is finished, new-construction windows need very little upkeep if they were installed correctly. A yearly check is enough for most homeowners:
- Clear debris and moss growth away from window sills and trim, especially on shaded or north-facing walls
- Check that exterior caulking at trim joints hasn't cracked or pulled away
- Confirm weep holes (on vinyl and fiberglass frames) are clear and draining
- Operate each window through its full range at least once a season to catch any hardware issues early
None of this replaces correct installation — it just protects the investment once the harder work is already done right.
Get a Straight Answer on Your Maple Falls Build
If you're framing a new home or addition near Maple Falls and want windows specified and installed correctly the first time, we're happy to walk the plans with you. We'll give you a straightforward, no-pressure estimate based on your actual build, not a generic package — just fill out the form below to get started.