 Lynden Exterior
 New-Construction Windows Are a Different Job Than Replacement Windows
Homeowners often lump all window work together, but installing windows in a new-build rough opening is a different trade than swapping out an old window in an existing wall. New-construction windows have a nailing flange (or "fin") that gets integrated directly into the house wrap and flashing system before siding ever goes on. There's no old window to compare against, no existing flashing to inspect or repair, and no room for "we'll catch it on the next one" — the opening either gets built correctly the first time, or it becomes a moisture problem hidden behind finished walls for years.
For a Bellingham build, that first-time-right requirement matters more than it does in a drier climate. Whatcom County gets a long stretch of wet weather, and Bellingham's proximity to the bay adds salt-laden air to the mix. A flashing detail that would be forgiving in Eastern Washington isn't forgiving here.
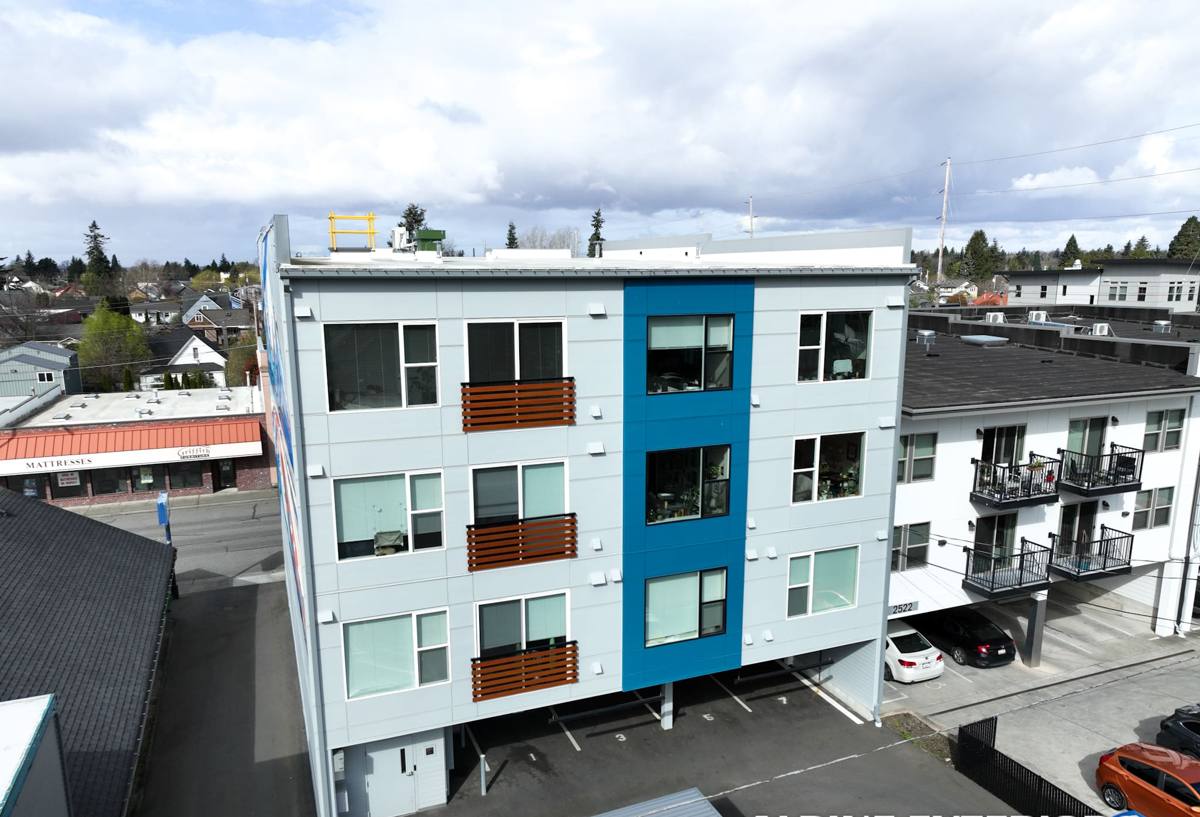
What Bellingham's Climate Actually Demands
Three things define window performance requirements on the north Puget Sound side of Whatcom County: salt air, driving rain, and moss.
Salt Air
Homes closer to Bellingham Bay see airborne salt that accelerates corrosion on exposed hardware — hinges, locks, cranks, and fasteners. It's rarely dramatic or fast, but it's steady, and it shows up first on whatever hardware is cheapest or least protected.
Driving Rain
Wind-driven rain off the water doesn't just hit a window head-on — it gets pushed sideways and upward into gaps that would stay dry in a calm rain. That means flashing laps, sealant joints, and sill details all have to handle water moving in directions a lot of installers don't plan for.
Moss Season
Shaded, north-facing elevations in this part of Whatcom County grow moss and algae on siding, trim, and window sills for a good chunk of the year. That growth holds moisture against surfaces longer than they'd otherwise stay wet, which shortens the working life of sealants and finishes that aren't rated for it.
The Installation Sequence That Actually Prevents Leaks
A correctly installed new-construction window is really a system: the weather-resistive barrier (WRB), the sill pan, the window unit itself, and the flashing tape all have to be layered in the right order so water is always directed out, never trapped in. Skip a layer or reverse the order and the window can look perfect for years while quietly failing behind the trim.
Sill Pan First
Before the window ever sits in the rough opening, the sill needs a sloped, sealed pan — either a manufactured pan or one built up with flashing membrane — so that any water that gets past the window has a dedicated path back outside instead of soaking into the framing below.
Shingle-Style Flashing
Flashing tape and WRB need to be layered like shingles on a roof: each piece overlaps the one below it, so water always drains onto the next layer down rather than behind it. Side flanges get taped over the sill pan, and the head flashing goes on last, lapping over the WRB above the window. Reverse that order — tape the head first, sides after — and you've built a shelf that catches water instead of shedding it.
Sealant as Backup, Not the Plan
Sealant around the exterior trim is a second line of defense, not the primary water barrier. Some installers rely on caulk alone to keep water out; we treat sealant as backup because caulk joints are exactly the kind of detail that degrades fastest under repeated wet-dry cycling and moss growth.
Choosing a Window Built for This Climate
Frame material affects how a window holds up to salt air, moisture cycling, and years of Pacific Northwest weather. There's no single right answer for every home — it depends on budget, exposure, and how the rest of the house is finished — but the trade-offs are worth understanding before you sign off on a spec.
| Frame Material | Salt Air / Corrosion | Moisture Behavior | Maintenance |
|---|---|---|---|
| Vinyl | Won't corrode; hardware is the weak point | Stable, doesn't absorb moisture | Low — occasional cleaning |
| Fiberglass | Excellent, dimensionally stable near salt air | Very stable across temperature swings | Low |
| Aluminum-clad wood | Good on the exterior face; interior wood needs care | Wood core can be sensitive to trapped moisture | Moderate — watch cladding seams |
| Bare wood | Poor without diligent upkeep near salt air | Absorbs and swells if finish fails | High — regular refinishing |
For Bellingham builds, we lean toward vinyl or fiberglass frames with corrosion-rated hardware unless the design specifically calls for a wood or clad-wood look. That's a maintenance-burden call, not a claim that other materials are defective — a wood-frame window installed and finished correctly can absolutely last, it just asks more of the homeowner over time.
Energy Code and Performance Numbers That Matter Here
Washington's state energy code sets minimum U-factor requirements for new construction, and Whatcom County's climate zone puts window performance under real scrutiny during permitting. Beyond passing inspection, two numbers matter for day-to-day comfort in a coastal home:
- U-factor — lower is better for heat retention; this is what keeps a window from feeling cold to stand near on a damp evening.
- Condensation resistance — a bigger deal here than in drier climates, since indoor humidity plus cool coastal air can fog interior glass if the window's thermal performance is marginal.
Orientation matters too. North- and west-facing windows in Bellingham take the brunt of driving rain and get the least sun to dry out afterward — those are the openings where we don't cut corners on flashing detail, regardless of what the spec sheet says is "sufficient."
Coordinating Window Install With Your Builder's Schedule
New-construction windows go in at a specific point in the build sequence — after the WRB is up, before siding starts — and that timing isn't flexible. Install too early and the WRB detailing isn't ready to receive flashing correctly; too late and siding crews are waiting on you, which creates pressure to rush the flashing sequence to keep the schedule moving.
On a Bellingham job site, we also work around the wet season directly. Housewrap and flashing tape need dry, clean surfaces to bond properly, so we watch the forecast and sequence window install for windows in the weather, not just windows in the schedule.
Our Process on a Bellingham New Build
- Verify rough openings against the window schedule before units arrive — wrong sizes caught now save a delay later.
- Inspect WRB coverage and lap direction at each opening before setting sill pans.
- Install sloped sill pans and shingle-lap all flashing tape in the correct sequence.
- Set and shim the window plumb, level, and square, then fasten per the manufacturer's schedule — not a generalized pattern.
- Insulate the gap between frame and framing with a low-expansion foam or backer rod rated for window applications.
- Apply exterior trim and sealant as the secondary water barrier, using a sealant rated for coastal UV and moisture exposure.
- Photograph flashing details before they're covered by siding, so there's a record if anything needs to be referenced later.
Checklist: What to Confirm Before Your Windows Go In
- Rough openings match the approved window schedule, including any egress-sized bedroom windows required by code.
- WRB is fully lapped and intact around every opening, with no tears or gaps from other trades.
- A sloped sill pan is specified for every opening, not just the ones below grade or on exposed elevations.
- Flashing tape is compatible with your specific WRB — not all tape adheres reliably to all housewrap products.
- Hardware finish is rated for coastal/salt-air exposure if the home is within a few miles of the bay.
- Sealant joints are scheduled as a final step, after trim, not used to patch a rushed flashing job.
Why a Local Crew Matters More Than a General Contractor's Window Line Item
Window installation is often subbed out as a small line item on a bigger new-construction job, and it can end up handled by whichever crew is available that week rather than one that specializes in it. A crew that regularly works Bellingham and the rest of Whatcom County has already seen how the sill pans, flashing, and hardware choices described above actually hold up after a few wet seasons — not just how they look on install day. That's the difference between a window package chosen off a spec sheet and one chosen for the specific exposure of a specific lot.
If you're planning new construction or an addition in the Bellingham area and want a straight answer on window selection, flashing details, or how your build schedule should sequence around window installation, we're glad to walk the plans with you. Reach out for a free, no-pressure estimate using the form below.