 Lynden Exterior
 New-Construction Windows for Aldergrove Builds
Aldergrove sits in the Fraser Valley just north of the border, close enough to Whatcom County that it shares the same weather pattern we deal with every day out of Lynden: long, wet winters, driving rain that comes in sideways off the coast, and enough shade and moisture sitting on north walls and rooflines to grow moss for most of the year. When a house is being framed and wrapped, the window openings are one of the first places that weather either gets locked out for good or gets a slow leak baked into the wall for the next twenty years. New-construction window work is where that gets decided.
We treat new-construction windows as a different job from a replacement, even though the products often look similar on a spec sheet. On a new build, the window is going into a rough opening that has never seen a window before — no old flashing to reference, no existing leak history to warn you where the weak points are. Everything about how that opening handles water depends on decisions made in the days before the window ever arrives on site.
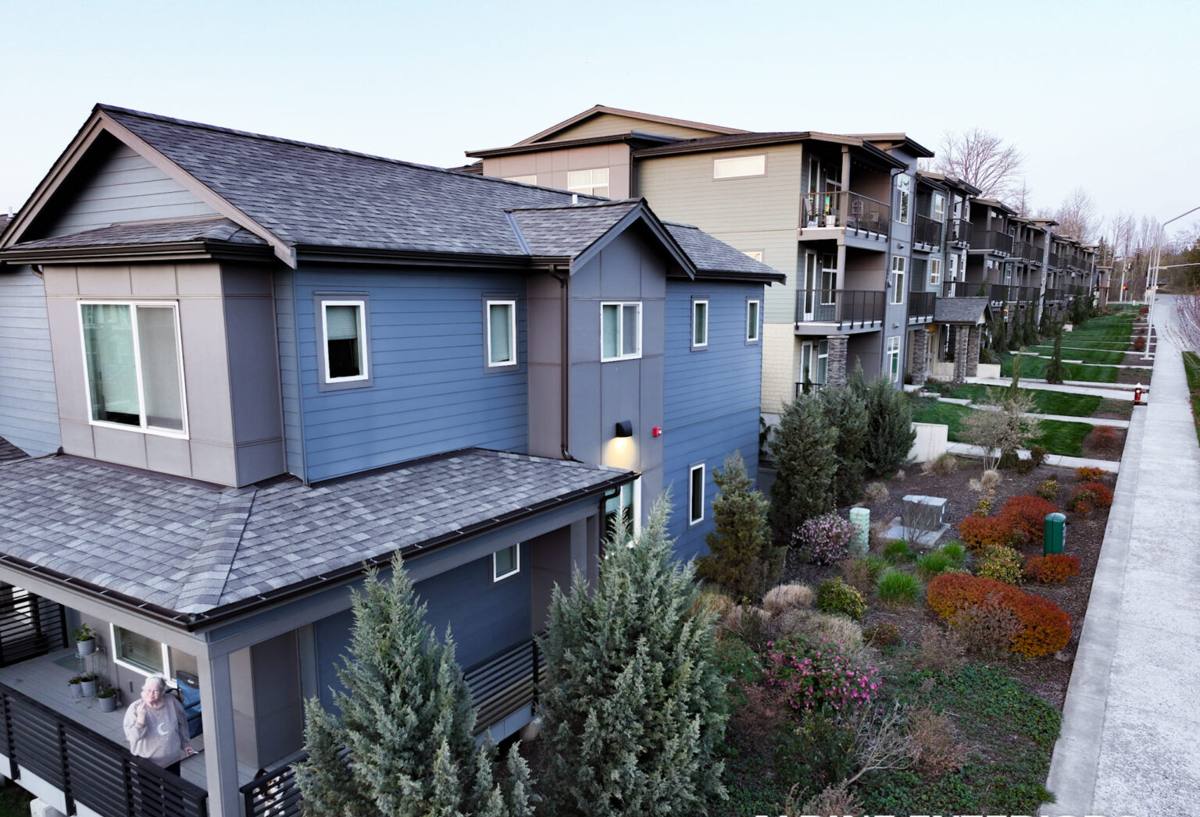
Why New Construction Is Its Own Trade Problem
Nail-Fin Windows vs. Retrofit Frames
New-construction windows almost always use a nailing-fin frame, which gets fastened directly to the sheathing before siding goes on. That's different from a retrofit or "pocket" frame, which is built to slide into an existing opening without disturbing the exterior finish. On a new build, the fin gets integrated directly into the water-resistive barrier (WRB) — the house wrap — which is the whole point: done right, the fin becomes part of a continuous drainage plane instead of a hole punched through it.
Sequence Matters More Than the Window Itself
We've seen good windows fail because they went in out of sequence — flashed before the WRB was lapped correctly, or set before the sill pan had time to cure or seat properly. In new construction, the window installer isn't working in isolation; the job has to sync with the framer, the wrap crew, and sometimes the siding contractor. A window that's technically installed "correctly" but out of step with the rest of the wall assembly can still leak.
What a Correct Installation Actually Involves
There's a specific order of operations that keeps water moving down and out instead of into the wall cavity. Skipping or reordering any of these steps is where most new-construction window leaks start.
- Rough opening checked for square, level, and correct dimension before the window ever shows up
- Sill pan flashing installed with back-dam and end-dams so any water that gets past the window has somewhere to go besides the framing
- Window set into the opening, shimmed for level and square without over-compressing the frame
- Nailing fin fastened per manufacturer spacing — not "close enough," since gaps here show up as movement and air leaks later
- Side and head flashing lapped in the correct shingle-style order so upper layers always overlap lower ones
- WRB integrated back over the flashing at the head, sealing the whole assembly into one drainage plane
- Interior and exterior sealant joints placed only where they're supposed to carry water, not used as a substitute for flashing
None of these steps are exotic. They're standard trade practice. The issue is that on a busy job site, with multiple crews trying to keep a schedule, it's easy for a step to get rushed or skipped — and it won't show up as a problem until the first real Fraser Valley storm season a year or two later.
Frame Material Comparison for This Climate
Homeowners building new in this area usually narrow the choice down to vinyl, fiberglass, or wood-clad. Each has real tradeoffs — we'd rather walk through them honestly than push one product line.
| Frame Type | Moisture Behavior | Maintenance | Typical Fit |
|---|---|---|---|
| Vinyl | Won't rot; performs well if drainage is built in correctly | Low — occasional cleaning | Most cost-conscious new builds |
| Fiberglass | Very stable in wet/dry cycling, minimal expansion or contraction | Low | Homes wanting a longer-term, lower-movement frame |
| Wood-clad | Good performance if the cladding seal stays intact; interior wood still needs protection from indoor humidity | Higher — cladding joints and interior finish need periodic checking | Homes prioritizing a specific interior wood look |
We don't push wood-clad frames as the default in this climate, not because the product is bad, but because the failure mode when a clad seam is compromised is slow and hidden — moisture gets into the core material long before it's visible from outside. That's a maintenance commitment more than a defect, and we'd rather a homeowner know that going in than find out later.
Glazing and Hardware Notes
For this region, we lean toward double or triple-pane glazing with a warm-edge spacer, and we pay attention to hardware finish — corrosion-resistant hinges and locks matter more here than in a dry climate, especially on homes with any exposure to open air or moisture-laden wind off the valley.
Our Process on New-Construction Jobs
Before the Windows Arrive
We walk the framed openings before ordering anything. Rough openings on new builds are supposed to match the plans, but framing crews are human, and a quarter-inch discrepancy caught before the window is manufactured is a non-issue; caught after, it's a delay. We also coordinate timing with whoever is running the WRB and siding, so the window install lands at the right point in the wall sequence — not before the wrap is ready, not so late that it holds up siding.
During Install
We install with the sequence described above — sill pan first, shingle-lap flashing, fin fastening to spec, WRB integration back over the top. We check every opening for square and plumb before final fastening, not just the first one on the elevation.
After Install
Once windows are set and flashed, we do a walk-through with photos of the flashing details before they get covered by siding — that record matters if a warranty question ever comes up down the road, since the flashing itself won't be visible again once the exterior is finished.
Handling Moss, Moisture, and Long Wet Seasons Over Time
The moss season here isn't just a roof problem. Moss and algae growth on north- and shade-facing walls holds moisture against the exterior finish for months at a stretch, and window perimeters are one of the places that moisture concentrates — at the head flashing, at the sill, and in any corner where two building materials meet. Correct flashing and a properly lapped WRB are what keep that sustained dampness from ever reaching the framing, regardless of how much moss builds up on the siding around the window.
Driving rain adds wind-driven pressure to the equation — water doesn't just run down the wall, it gets pushed sideways and even slightly upward under enough wind load. That's part of why shingle-lap sequencing and properly dammed sill pans matter more here than in calmer, drier climates: the assembly has to handle water that isn't just falling straight down.
Common Mistakes We See in New-Construction Window Installs
Most of the callbacks we get on other crews' new-construction work trace back to a short list of recurring issues:
- Sill pan skipped or installed without back-dam, relying on sealant alone to stop water
- Flashing lapped in the wrong order, so water runs behind a layer instead of over it
- WRB cut and taped back over the fin instead of properly integrated, leaving a seam that opens up over time
- Fasteners missed or under-spaced along the nailing fin, leaving the frame free to flex in wind
- Sealant used as the primary water barrier instead of as a secondary seal on top of correct flashing
- Rough opening not verified for square before the window was ordered, leading to shimmed-in gaps
None of these are visible once the siding goes up. That's exactly why getting them right the first time matters — there's no easy way to inspect a flashing detail after the wall is finished without opening it back up.
Cost Factors on New-Construction Window Projects
Pricing on new-construction window work depends on more than the window units themselves. Some of the bigger swing factors:
- Number and size of openings, and how many are larger or custom shapes versus standard sizes
- Frame material chosen — vinyl, fiberglass, and wood-clad carry different unit costs
- Elevation and access — upper-story or hard-to-reach openings take more time to flash correctly
- How tightly the install has to coordinate with other trades' schedules on an active job site
- Glazing package — double vs. triple pane, low-E coatings, and gas fill options
We'd rather quote a job after seeing the plans and walking the site than throw out a number that doesn't hold up once we're actually on the openings.
Why a Crew That Already Works This Area Matters
Aldergrove and Lynden share weather, not just proximity. A crew that installs windows across this same stretch of the Fraser Valley and Whatcom County border area has already seen how these openings perform two, five, and ten years after the siding went up — which flashing details hold and which ones show up as a slow stain on an interior sill during the wettest months. That's the kind of knowledge that doesn't come from a spec sheet; it comes from being the crew that gets the callback if something was done wrong, and building the process so that callback doesn't happen.
If you're building new in Aldergrove and want the window openings done right the first time, we're happy to walk the plans with you and give a straightforward, no-pressure estimate — just fill out the form below.