 Lynden Exterior
 Building New Near Nooksack: What the Climate Actually Demands
New construction is the one point in a home's life where windows can be installed exactly right, with no shortcuts forced by an existing wall. That matters more here than in a lot of places. Whatcom County sits under a long, wet weather pattern — driving rain that comes in sideways during fall and winter storms, damp marine air that never fully lets up, and a moss and algae season that stretches for months on shaded north and west elevations. A window opening that's flashed correctly on day one will shed that weather for decades. One that's flashed even slightly wrong will hide the problem behind drywall and siding until it shows up as rot, staining, or a moldy smell in a bedroom five or ten years down the road.
For homeowners and builders working on new construction in and around Nooksack, that means the window install isn't just a "measure and set" job. It's a water-management system built into the rough opening, and it has to be right before siding ever goes on.
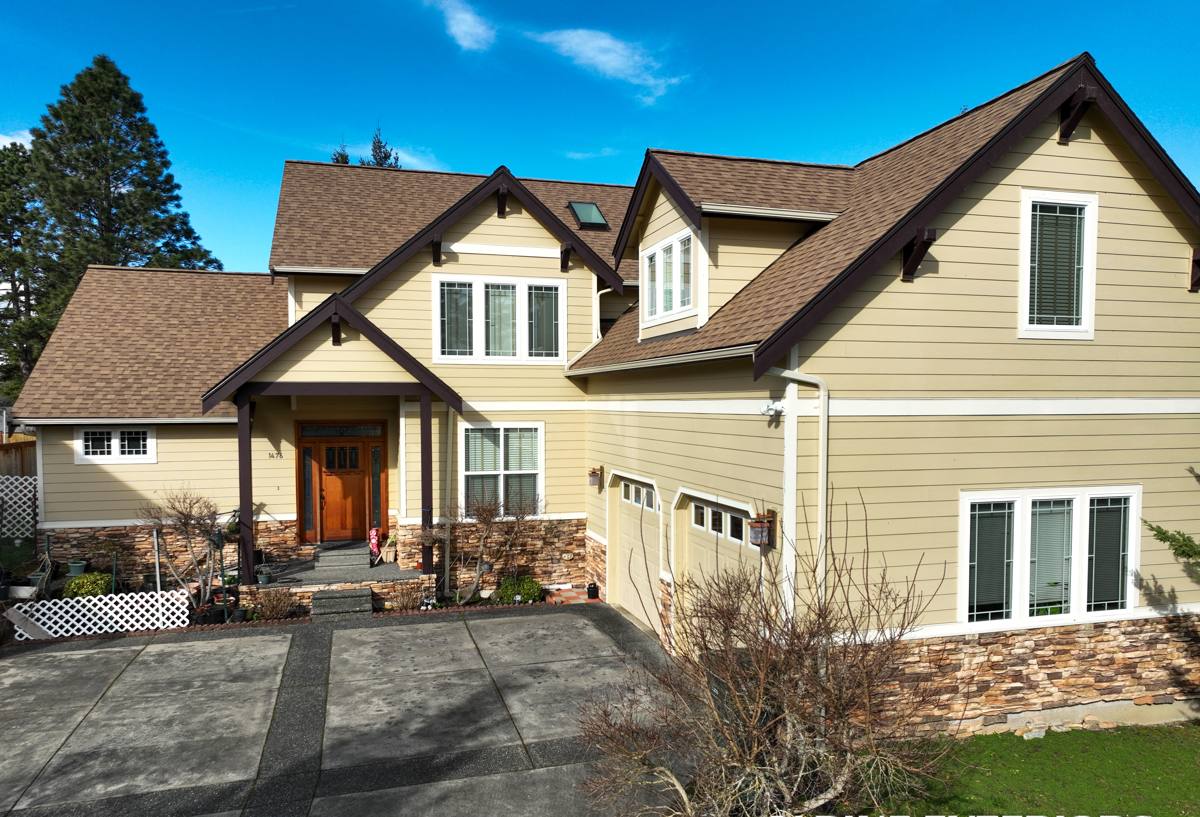
New-Construction Windows vs. Replacement Windows: Why the Distinction Matters
These are genuinely different jobs, not just different price points.
- New-construction windows have a nailing fin around the perimeter of the frame. They get set into a framed rough opening before the wall assembly is closed up, so the flashing, house wrap, and water-resistive barrier all integrate with the window from the outside in.
- Replacement (retrofit) windows are built to install into an existing frame with the exterior siding and trim left mostly intact — a different product for a different situation.
On a new build in Nooksack, you want the nail-fin, new-construction style windows, and you want the install sequenced correctly with the rest of the building envelope. Getting this step right is one of the cheapest, easiest opportunities in the whole build to prevent water problems — and one of the most expensive things to fix later if it's missed.
What a Correct New-Construction Window Install Involves
Flashing Comes First
Before a window ever gets set, the rough opening needs a properly lapped flashing system — sill pan flashing at the bottom to catch and direct out any water that gets past the window, jamb flashing up the sides, and head flashing integrated with the house wrap above so water sheds down and out, never in behind the wrap. In a climate that sees sustained, driving rain, the sill pan is not optional. It's the difference between a leak draining harmlessly to the exterior and a leak soaking into the framing.
House Wrap and Water-Resistive Barrier Integration
The window flashing has to be shingled into the house wrap in the correct order — like roof shingles, each layer overlapping the one below it so water always moves down and out. Done backwards, even by a few inches in the wrong spot, and the wall is set up to trap moisture instead of shedding it.
Setting the Window Square, Plumb, and Properly Shimmed
A window that's slightly out of square will bind, won't seal against its own weatherstripping correctly, and puts uneven stress on the frame that shows up later as air leaks or difficulty opening and closing. We shim and fasten to the frame manufacturer's specifications, not by eye.
Insulating and Air-Sealing the Gap
The gap between the window frame and the rough framing needs to be filled with a low-expansion window-and-door foam or backer rod and sealant — enough to stop air movement and reduce condensation risk, without so much expansion pressure that it bows the frame.
Interior and Exterior Sealant Details
Exterior sealant beads and interior air-sealing are both part of a correct install. Skipping either one leaves a path for either bulk water or moist interior air to reach places it shouldn't.
Choosing the Right Window for a Nooksack New Build
Frame material and glass package both matter more in a wet, marine-influenced climate than they would somewhere dry. A few honest trade-offs:
| Frame Material | Strengths | Trade-Offs |
|---|---|---|
| Vinyl | Good value, low maintenance, solid thermal performance, wide availability | Can expand/contract more with temperature swings; quality varies a lot by manufacturer |
| Fiberglass | Very stable dimensionally, holds paint well, strong long-term durability in wet climates | Higher upfront cost than vinyl |
| Wood or Wood-Clad | Classic appearance, good insulator | Exterior wood needs ongoing maintenance in a climate this wet; cladding helps but seams need attention |
| Aluminum | Strong, slim sightlines, good for large openings | Poor insulator unless thermally broken; can condensate in cold, damp conditions |
We don't push one brand over another — our standard is that whatever product goes in has to be installed to its manufacturer's flashing and fastening instructions, because that's what keeps the warranty valid and the wall dry. What we do steer clients away from is any frame or glass package that's marginal for sustained damp exposure, because the maintenance burden and moisture risk over ten-plus years isn't worth the small upfront savings.
Glass Packages Worth Discussing
- Low-E coatings tuned for the Pacific Northwest's cloudy, moderate climate rather than a hot, sunny one
- Argon or krypton gas fill between panes for better insulating value
- Warm-edge spacer systems, which reduce condensation risk at the glass edge — a real concern during cold, damp mornings
Our Process on a Nooksack New-Construction Job
- Plan review and window schedule check — we confirm rough opening sizes, egress requirements, and window types against the architectural plans before anything is ordered.
- Coordination with the framer and siding crew — window install has to happen at the right point in the build sequence, after rough framing and house wrap, before siding closes the wall up.
- Sill pan and flashing installation — done opening by opening, following manufacturer flashing instructions.
- Window setting — square, plumb, shimmed, and fastened per spec.
- Insulation and sealant — perimeter gap filled and sealed, interior and exterior.
- Walkthrough and documentation — we check operation on every unit and confirm flashing laps are correct before the wall gets closed in behind siding, because that's the last point anyone can see the work.
Common Mistakes We See on New Builds
Most window callbacks on new construction don't come from a bad window — they come from an install detail that got rushed or skipped. A few patterns worth knowing about as a homeowner or builder:
- Missing or shortcut sill pans — relying on caulk alone at the sill instead of a real drainage plane
- House wrap shingled backwards around the window opening, so water gets directed behind the barrier instead of over it
- Over-driven or under-driven nailing fin fasteners, which can crack vinyl frames or leave the window loose
- Foam used as the only air seal, with no backer rod or sealant detail, leading to gaps as the foam ages
- Windows set before the opening is checked for square, which shows up later as doors and windows that stick or won't latch
None of these are exotic problems. They're all things a careful, methodical crew catches by following the sequence every single time, on every opening, rather than treating window install as a quick step between framing and siding.
What Drives Cost on a New-Construction Window Job
| Factor | Why It Matters |
|---|---|
| Number and size of openings | More openings and larger units mean more labor and material, and larger units often need reinforced framing |
| Frame material and glass package | Vinyl, fiberglass, wood-clad, and aluminum all sit at different price points, and upgraded glass adds cost |
| Window shapes and specialty units | Bays, corner windows, and custom shapes cost more to flash correctly and take more install time |
| Site access and building height | Second-story and hard-to-reach openings take longer and may need staging or lift equipment |
| Scheduling with other trades | Tight coordination with framers and siding crews keeps the job efficient; delays add cost |
Broad ranges vary a lot by window count, size, and product tier — this is one of those jobs where an accurate number comes from seeing the actual plans and opening schedule, not a per-window rule of thumb.
A Homeowner's Checklist Before Windows Go In
- Confirm the window schedule matches the final architectural plans, including egress requirements for bedrooms
- Ask what flashing system and sequence the installer follows, and confirm it matches the window manufacturer's instructions
- Confirm who is responsible for house wrap integration — the window crew, the framer, or the siding crew — so nothing falls through the cracks between trades
- Ask to see flashing and sealant work before siding closes the wall, since it's the last chance to inspect it
- Get the glass package and U-factor in writing, not just the frame material
- Confirm warranty terms in writing, including what's covered on labor versus product
Why a Lynden-Based Crew That Already Works the Nooksack Area Matters
Window install on new construction is a sequencing job as much as a technical one — it has to happen at the right moment, coordinated with framers and siding crews, without becoming the bottleneck that holds up the rest of the build. A crew that already works regularly around Lynden and Nooksack knows the pace and expectations of local builders, has already worked through Whatcom County's inspection and permitting rhythm, and has installed enough windows in this specific weather pattern — long wet seasons, driving rain, persistent damp — to treat flashing and moisture management as the priority it needs to be, not an afterthought. That's not a marketing point, it's just what doing this work correctly, over and over, in this climate looks like.
If you're planning new construction in or around Nooksack and want windows installed right the first time, we're glad to walk your plans, talk through window and glass options for the climate, and give you a straightforward, no-pressure estimate — just fill out the form below to get started.