 Lynden Exterior
 Building New in Laurel? Get the Windows Right the First Time
Laurel sits in the farmland and rural residential stretch just outside Lynden, in a part of Whatcom County where the weather off the Salish Sea shapes everything about how a house ages. If you're framing a new home or a substantial addition out here, the windows you choose and how they're installed will quietly determine whether that house stays dry and efficient for the next 30 years — or starts showing rot, fogged glass, and drafts within the first decade. New-construction windows are not the same product or the same install as a replacement window, and getting that distinction right matters even more in a climate like ours.
This page covers what new-construction window installation actually involves, what Laurel-area homes specifically need from their windows, and how we approach the job on new builds in this part of the county.
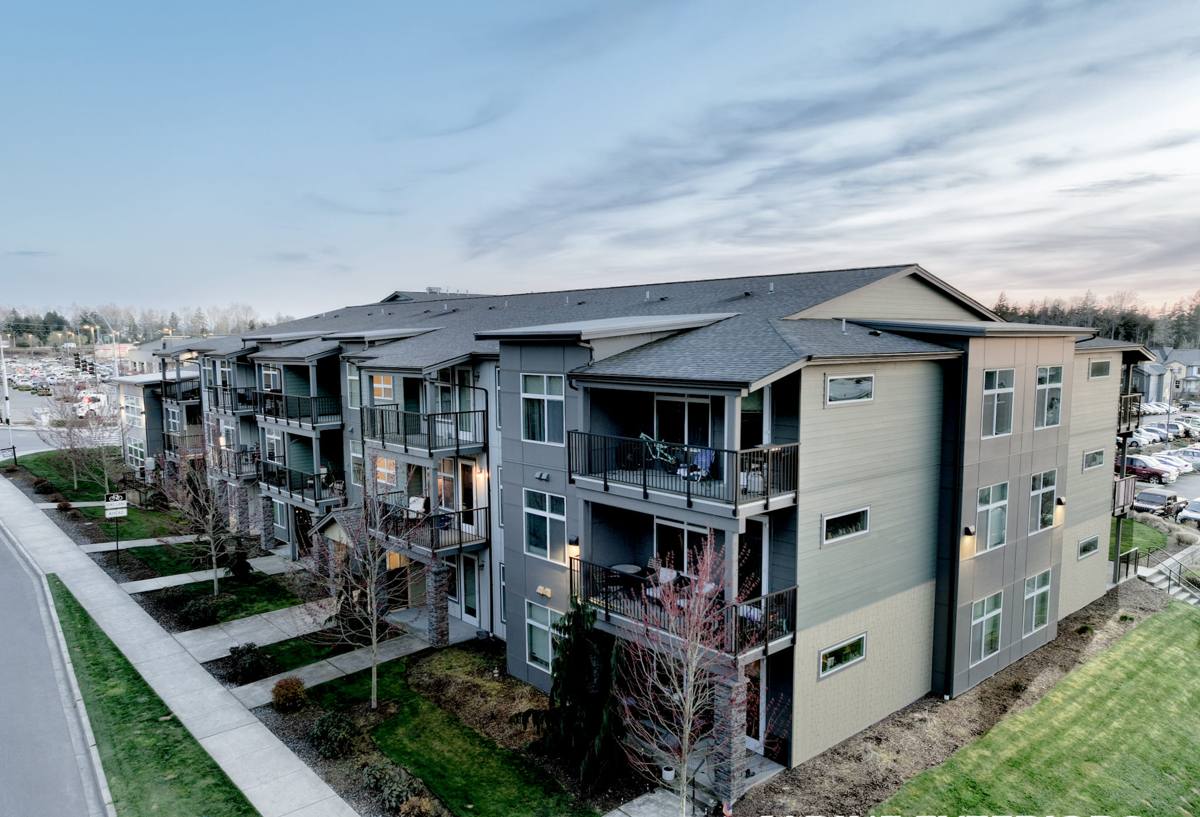
Why New-Construction Windows Are a Different Job Than Replacement
A lot of homeowners assume "windows are windows." On a new build, they're not. New-construction windows come with a nailing fin around the perimeter of the frame, designed to be installed into open stud framing before siding goes on — not into an existing finished wall opening. That fin is what ties the window into the building's water management system, and it only works if it's integrated correctly with the weather-resistant barrier (WRB), flashing tape, and sill pan underneath it.
This matters because the window itself is rarely where a leak starts. It's almost always the interface — the seam where the window meets the rough opening — that fails first. On a new build, you get one real shot to build that interface correctly, before the siding, trim, and interior finishes cover it up. There's no second chance without tearing into finished work.
What "Correct" Actually Means Here
- A sloped sill pan under every window, so any water that gets past the glass or frame drains back out, not into the wall cavity
- Flashing tape lapped in the correct shingle-style order — sill first, then jambs, then head — so water always sheds downward and outward
- Proper integration with the house wrap or WRB, with no gaps, wrinkles, or reverse laps that trap moisture
- Fasteners placed per the manufacturer's instructions, not just "close enough" — under- or over-driven nails compromise the frame and can void warranty coverage
- Correct shimming and squaring before fastening, so the sash operates smoothly and the seal stays even for the life of the window
What Laurel's Climate Asks of a Window Installation
Whatcom County's weather is defined by moisture that doesn't let up. Homes around Lynden and Laurel see long stretches of driving rain carried in off the Salish Sea, humid marine air that keeps everything damp longer than homeowners moving here from drier climates expect, and a moss season that can run most of the year on north- and west-facing surfaces. None of that is unusual for this part of Washington — but it does mean a new-construction window install has less margin for error here than it would in a drier region.
A few climate-specific realities we build around:
- Wind-driven rain pushes water sideways and upward against a wall, not just straight down. Flashing details that only account for gravity-fed water will eventually fail here.
- Persistent dampness means any organic material trapped in a wall cavity — sawdust, cardboard, wet wood — stays wet long enough to support rot and mold rather than drying out between rain events.
- Moss and algae growth on siding and trim around windows isn't just cosmetic; sustained moisture at a window's edge accelerates caulk breakdown and can mask a slow leak until it's already done damage behind the wall.
- Seasonal temperature swings, while milder than inland Washington, still cause enough expansion and contraction that gaps or poor sealant choices show up as drafts within a year or two.
None of this means Laurel needs exotic materials. It means ordinary best practices — sill pans, correct flashing order, quality sealants — have to actually be followed every time, because this climate finds every shortcut eventually.
Choosing Windows for a New Build in This Area
Frame material, glazing, and installation quality all matter, and they trade off against each other differently depending on budget and how exposed the elevation is to prevailing weather.
| Factor | What to Consider Locally |
|---|---|
| Frame material | Vinyl and fiberglass both handle Whatcom County's damp climate well and resist the rot that untreated wood frames are prone to here; fiberglass holds up better under long-term UV and temperature cycling |
| Glazing package | Double-pane with low-E coating is standard for this climate; homes on more exposed, wind-facing elevations often benefit from upgraded gas fills or a third pane for comfort near the glass |
| Sill design | A proper sloped sill and integrated pan flashing matter more here than glass upgrades — water management is the priority, not just energy performance |
| Exterior finish | Low-maintenance cladding around the window (fiber cement, quality vinyl) reduces how often caulk and trim need attention in a climate that's hard on paint and sealants |
| Orientation exposure | West- and south-facing openings typically take the brunt of driving rain in this area and deserve extra care in flashing detail, not just a heavier window unit |
Our Process on New-Construction Window Installs
1. Rough Opening Check
Before any window goes in, we verify the rough opening is square, plumb, and sized correctly per the window's specs. Framing tolerances that get waved through at this stage cause operation and sealing problems that are expensive to fix later.
2. Sill Pan and Flashing
We install a sloped sill pan and flash the opening in proper shingle-lap order — sill, jambs, then head — so the whole assembly sheds water outward at every layer, not just at the surface.
3. Set, Shim, and Fasten
The window is set into the opening, shimmed square and plumb, and fastened per manufacturer spec through the nailing fin. We check operation — smooth opening, closing, and locking — before moving on, since a window that's slightly out of square today will bind or leak within a year or two.
4. Seal and Integrate with the WRB
Flashing tape and the house wrap are integrated over the nailing fin so the water plane stays continuous. This is the step that most often gets rushed on a job site under schedule pressure — we don't skip it, because it's the single biggest factor in whether the window stays dry long-term.
5. Interior and Exterior Trim-Out
Once siding and trim close in around the window, we do a final function and seal check before considering the opening complete.
Mistakes We See on New Builds — and Why They Matter Here
- Skipping the sill pan. Caulk alone is not a water management system; it's a backup, and backups fail over time, especially in a climate this wet.
- Wrong flashing order. If head flashing goes on before jamb flashing, water gets directed behind the jamb tape instead of over it — a reverse lap that looks fine on install day and fails quietly over a few wet seasons.
- Over-driven or missing fasteners. Either one can distort the frame just enough to throw off the seal or the sash operation, and it's not always visible until the window starts sticking or drafting.
- Gaps at the WRB tie-in. Any break in the continuous water barrier around the window becomes the path moisture takes into the wall assembly — and once it's behind siding, nobody sees it until there's a problem.
Why a Crew That Works Laurel and Lynden Regularly Makes a Difference
New-construction window installation is detail work, and the details that matter shift by region. A crew that mostly works drier inland climates doesn't build the same habits around sill pans, flashing order, and WRB integration that a crew working Whatcom County's rain and marine air day in and day out does. We install windows on new builds and additions around Lynden and the surrounding areas, including Laurel, and we treat the water management details as non-negotiable — not because a spec sheet says so, but because we've seen what this climate does to a wall assembly when they're skipped.
Working locally also means we're familiar with the building department expectations in Whatcom County and can coordinate window installation timing with your framing and siding schedule so nothing sits exposed to weather longer than it needs to.
Checklist: What to Ask Before New-Construction Windows Go In
- Will a sloped sill pan be installed under every window opening, not just the ones facing prevailing weather?
- What flashing tape and WRB system will be used, and does it match the window manufacturer's installation instructions?
- Is the crew installing to the manufacturer's fastening spec, and will that be documented for warranty purposes?
- How will window installation be sequenced with siding and trim to limit exposure time to open weather?
- What frame material and glazing package fit your budget and the exposure of each elevation?
Get a Straightforward Estimate
If you're planning a new build or a major addition in Laurel or elsewhere around Lynden, we're happy to walk through window selection and installation details before framing gets to that stage. Reach out for a free, no-pressure estimate — there's a form right below this page to get started.