 Lynden Exterior
 Building New in Custer Means Planning for the Weather From Day One
Custer sits close enough to the water that salt air is part of daily life, and like the rest of Whatcom County it gets its share of driving rain off the Strait and a long stretch of gray, damp months where moss finds a foothold on anything that stays wet long enough. When you're building new, the windows you choose and how they're installed are one of the few decisions that's genuinely easier to get right the first time than to fix later. Once siding, trim, and interior finish work are in, correcting a bad window install means tearing into finished work. Doing it right during framing costs a fraction of what it costs to redo.
This page is about one job specifically: installing windows in new-construction homes in and around Custer. Not repairs, not swapping old windows for new ones in an existing wall — new openings, built into new framing, sealed and flashed before the house is closed in.
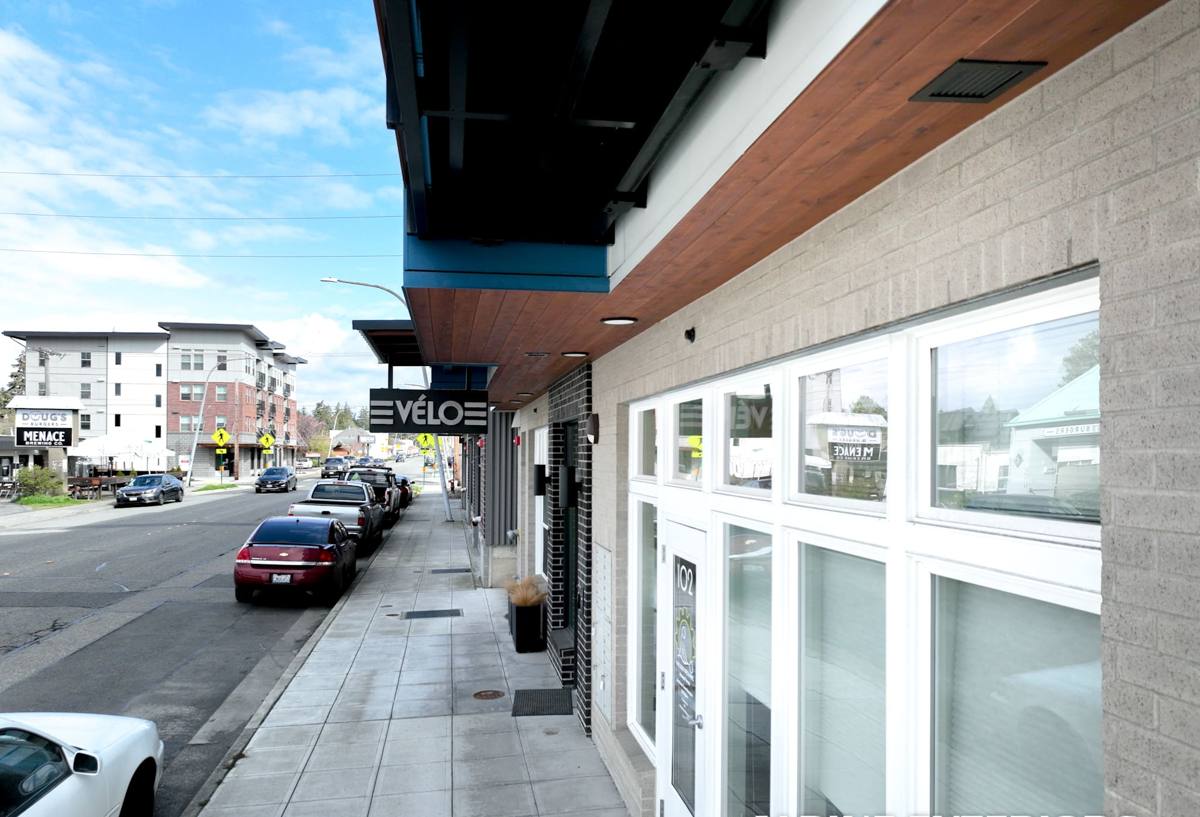
New-Construction Installation Is a Different Job Than Replacement
A lot of homeowners assume "window installation" is the same job whether the house is 40 years old or still under construction. It isn't. In a replacement, we're working around an existing rough opening, existing siding, and existing flashing that may or may not have been done correctly the first time. In new construction, we're building the water management system from scratch, in the correct order, with full access to the wall assembly.
Nail-Fin vs. Block-Frame Installation
Most new-construction windows in this region are installed with a nailing flange (nail-fin) that gets integrated directly into the house wrap and flashing sequence, or as block-frame units set into a rough opening and secured through the jamb. Which method makes sense depends on the wall assembly, the siding type, and how the architect or builder detailed the opening. Either way, the installation has to happen in the correct sequence relative to the weather-resistive barrier — flashing tape and house wrap that go on in the wrong order will trap water instead of shedding it, and that mistake doesn't show up until years later.
Working From Plans, Not Around Problems
New-construction work means reading the plans, confirming rough opening sizes before the windows are ordered, and coordinating with the framer and siding crew so nobody's schedule creates a gap where an opening sits unprotected in the rain. It's a more collaborative job than a replacement, and it rewards a crew that's used to working alongside builders rather than just showing up to swap units.
What Salt Air, Driving Rain, and Moss Season Actually Do to Windows
These aren't abstract concerns for a Custer build — they're the specific conditions the windows will face for the next several decades.
Salt Air and Corrosion
Being near the water means airborne salt settles on everything, including window hardware, screen frames, and fasteners. Cheaper hardware and uncoated fasteners corrode faster in this environment than they would further inland. It's a slow process, but it's steady, and it's one of the reasons hardware quality matters more here than a spec sheet might suggest.
Driving Rain and Wind-Driven Water
Storms coming off the water don't just drop rain straight down — wind pushes it sideways and up under trim, sills, and anywhere a gap exists. A window that would be fine in a calm climate can leak in a wind-driven storm if the flashing details weren't built to handle water moving sideways and even briefly upward at the sill.
Moss Season and Prolonged Moisture
Western Washington's long wet season means anything that stays damp for extended periods becomes a target for moss and mildew growth. Around windows, that shows up on sills, in corners where water sits, and in any spot where drainage wasn't built in correctly. A well-flashed window sheds water fast and doesn't give moss anywhere to establish itself. A poorly flashed one holds moisture right where you don't want it — against the frame and the wall assembly behind it.
Frame Material and Glazing: What Holds Up in This Climate
There's no single "best" window for every new build — it depends on budget, the home's design, and how exposed the elevation is to wind and rain. Here's how the common frame options compare for a coastal Whatcom County build.
| Frame Material | Coastal/Moisture Performance | Maintenance | Fit for New Construction |
|---|---|---|---|
| Vinyl | Good — won't rot or corrode, handles moisture well | Low | Common, cost-effective, wide size range |
| Fiberglass | Very good — dimensionally stable, resists warping in wet/dry cycles | Low | Strong choice for larger openings and higher-exposure walls |
| Aluminum-clad wood | Good on the exterior face; interior wood needs protection from any water intrusion | Moderate | Common for a specific look, but flashing has to be flawless |
| Bare wood | Weakest in this climate unless finish is maintained rigorously | High | We steer most Custer builds away from this on exposed elevations |
Glazing matters too. Double-pane, low-E glass is the baseline for this region's energy code, and for a house that will face driving rain and wind, a well-sealed insulated glass unit also helps prevent the condensation between panes that shows up when seals fail early. We'll walk through glazing options based on your home's orientation and exposure — a wall facing prevailing weather deserves more attention than a sheltered one.
Flashing and Water Management: Where New Builds Succeed or Fail
Almost every window leak we're called out to fix — on any house, anywhere — traces back to flashing, not the window itself. New construction is actually the best chance to get this right, because we have full access to the rough opening before it's covered.
The basics that have to happen in order, every time:
- Sill pan flashing installed first, sloped to drain water outward, not into the wall
- Window set and secured per the manufacturer's instructions — not "close enough"
- Side flashing lapped correctly over the sill pan
- Head flashing lapped over the house wrap above the window, never tucked under it
- All flashing tape pressed and rolled for full adhesion — gaps and wrinkles are where water gets in
- Sealant used only where it belongs — as a backup, not as a substitute for correct flashing sequence
Skipping or reordering any of these steps might not cause a problem for a year or two. It will eventually, especially on a wall that takes direct rain. This is the part of the job that doesn't show up in a walk-through and matters most in ten years.
Our New-Construction Window Process
- Plan review — we confirm rough opening sizes, window schedule, and any elevation-specific exposure concerns before anything is ordered.
- Product selection — we go over frame material, glazing, and hardware options based on budget and how exposed each wall is.
- Ordering and lead-time coordination — we work with your builder's timeline so windows arrive when the opening is ready, not before or after.
- Sill pan and flashing prep — done before the window ever goes in the opening.
- Window installation — set, leveled, shimmed, and secured to manufacturer specs.
- Flashing integration — side and head flashing tied into the house wrap correctly, so the whole wall sheds water as one system.
- Final check — operation, seal, and flashing lap checked before we sign off, while the wall is still open enough to fix anything if needed.
That last step matters. Once siding goes on, a flashing mistake is hidden. We'd rather catch it while it's still cheap and easy to correct.
A Checklist If You're Building New in Custer
Whether you're the homeowner or working with a builder, these are worth confirming before windows go in:
- Rough openings match the ordered window sizes exactly
- Frame material and glazing were chosen with each elevation's wind and rain exposure in mind
- Sill pan flashing is part of the written installation plan, not assumed
- Flashing sequence (sill, sides, head) is documented and matches manufacturer instructions
- Hardware is rated for coastal/marine-influenced air, not just standard-grade
- There's a clear plan for protecting open rough openings if weather moves in before windows arrive
- Someone is checking flashing laps before siding closes the wall, not after
Why a Crew That Already Works in Custer Makes a Difference
None of this is exotic knowledge, but it's the kind of thing you only get consistently right by doing it repeatedly in this specific environment. A crew that mostly works inland, in a milder microclimate, doesn't build the same instinct for wind-driven rain details or salt-air hardware choices that a crew working Custer and the rest of Whatcom County builds over time. We're not guessing at how exposed a given wall is — we've seen how these builds hold up a few years in, and we adjust our approach accordingly.
We also work regularly alongside builders and framers in this area, which means fewer scheduling gaps, fewer surprises on rough opening sizes, and a flashing job that's coordinated with the rest of the wall assembly instead of installed in isolation.
If you're planning a new build in Custer and want to talk through window options, flashing details, or timing with your framing schedule, we're glad to walk through it with you. Reach out for a free, no-pressure estimate using the form below.