 Lynden Exterior
 Building New in Birch Bay Means Building for the Water
Birch Bay sits close enough to the water that salt air, wind-driven rain, and a long damp season are part of daily life for any home built here. When you're framing a new house or a major addition, the windows you choose and how they're installed will decide whether that building stays tight and dry for the next 30 years or starts showing trouble in five. New construction is the one time you get to do this right from the studs out, before drywall, siding, and finish work hide the details that actually matter.
We install new-construction windows for homes going up in Birch Bay and the surrounding Whatcom County shoreline areas, working directly with builders, general contractors, and owner-builders during the framing and dry-in stages. This page covers what that work actually involves, why the local climate changes the approach, and what to expect if you're bringing us in on a build here.
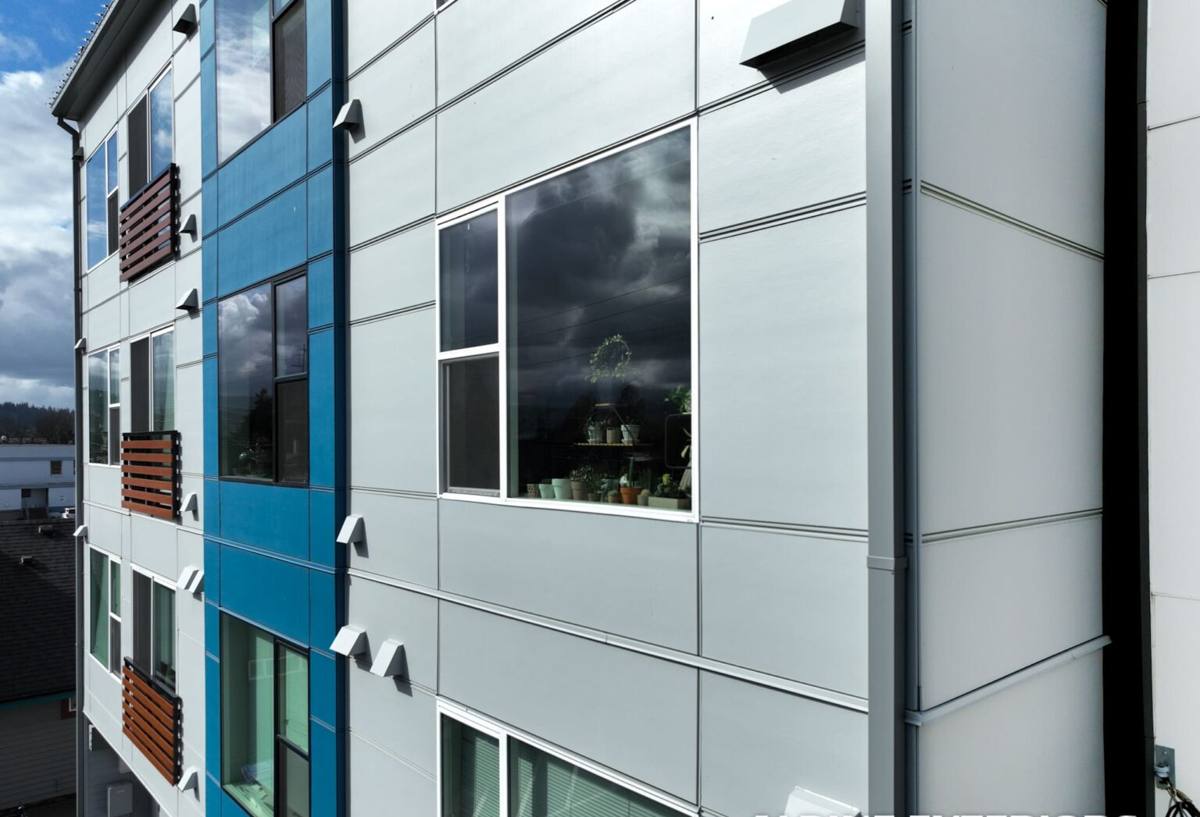
Why Birch Bay's Climate Changes the Window Install
Salt Air and Metal Components
Proximity to saltwater accelerates corrosion on anything metal — fasteners, flashing, hardware, and window frame components that aren't rated for coastal exposure. On inland Whatcom County builds we have more flexibility in material choice; that close to Birch Bay's shoreline, we're more selective about hardware finishes and flashing metals so the window still opens and locks smoothly a decade from now instead of seizing up or staining the siding with rust streaks.
Driving Rain and Wind-Driven Water
Storms coming off the water don't just fall straight down — wind pushes rain sideways and up under laps and trim that would stay dry in a calmer inland setting. That means the flashing sequence around a new-construction window opening has to assume water will hit it from angles a standard installation manual doesn't always plan for. Every layer — housewrap, flashing tape, sill pan, head flashing — has to shed water down and out, not just down.
Moss, Mildew, and a Long Wet Season
Whatcom County's extended damp season keeps north-facing walls and shaded window openings wet for months at a time. Moss and mildew take hold anywhere moisture sits instead of draining. On new construction, this means sill pans need real slope, weep paths need to stay clear, and sealants need to be rated for constant damp exposure — not just occasional rain.
What a Correct New-Construction Window Install Actually Involves
New-construction windows are installed with a nailing fin that gets integrated directly into the wall's water management system — a very different process from a retrofit or pocket replacement. Getting this right during framing is what prevents callbacks and warranty claims later.
The Sill Pan Comes First
Before the window ever goes into the opening, the rough sill needs a sloped, sealed pan that directs any water that gets past the window back outside the wall — not down into the framing. This is the single most skipped step we see on builds that later develop rot, and it's non-negotiable on anything within reach of Birch Bay's weather.
Flashing Sequence, Shingle-Style
Sill flashing goes on first, then the window, then jamb flashing over the nailing fin, then head flashing last — each layer lapping over the one below it like shingles, so water always drains outward and down. Housewrap gets integrated into this sequence, not just taped over it afterward.
Setting the Window Level, Plumb, and Square
Even a well-built window will leak air and stick over time if it's racked out of square in the opening. We shim and fasten to keep the frame true, then check operation before the wall is closed up — much easier to fix at this stage than after siding is on.
Interior and Exterior Sealing
Low-expansion foam or backer rod and sealant around the frame perimeter controls air leakage without bowing the frame. Exterior sealant beads get tooled at specific points in the flashing sequence — sealing everything solid is actually a mistake, since a fully sealed window can trap water that has nowhere to escape.
Choosing Window Products for a Birch Bay Build
We work with several window lines and help builders and owners choose based on the specific exposure of the home — full ocean-side exposure, a more sheltered lot set back from the water, or somewhere in between. There's no single "right" window for every lot in the area; the right call depends on orientation, wall height, and how much direct weather the openings will see.
| Factor | Sheltered Lot / Inland Whatcom | Direct Birch Bay Exposure |
|---|---|---|
| Frame material priority | Broad range of options work well | Corrosion-resistant hardware and finishes matter more |
| Flashing detail | Standard shingle-lap sequence | Extra attention to head flashing and end-dams on wind-facing walls |
| Sealant exposure | Standard exterior-grade sealant | Sealant rated for sustained salt and moisture exposure |
| Glass package | Standard double-pane typical | Often worth upgrading for wind load and condensation control |
| Maintenance interval | Annual check-in sufficient | More frequent hardware and weep-path checks recommended |
We'll walk through these trade-offs with you before ordering, since window lead times on new builds are long enough that a wrong call here is expensive to correct later.
Working With Builders and Owner-Builders
Most of our new-construction work in Birch Bay comes in through the general contractor during the framing and dry-in schedule, but we also work directly with owner-builders managing their own trades. Either way, timing matters — windows need to go in before the weather barrier is closed up, but the rough openings need to be framed correctly first.
What We Need From the Framing Stage
- Rough openings framed to the window manufacturer's specified dimensions, not "close enough"
- Housewrap or weather barrier installed and ready for integration, not fully taped shut yet
- Sill framing level and structurally sound — shims can correct small variance, not major ones
- A confirmed window schedule matching what's actually been ordered, since substitutions during framing cause delays
- Clear access for delivery and staging — large window units need room to maneuver without damage
We coordinate directly with the framer or GC on scheduling so windows arrive and get set without holding up the rest of the dry-in sequence.
Common Mistakes We Catch on New Builds
Because so much of new-construction window work gets covered by siding and interior finish, mistakes made here often don't surface until the first hard storm season — sometimes years later. A few we see repeatedly on builds we're brought in to inspect or correct:
- Sill pans skipped entirely or installed flat instead of sloped
- Housewrap taped over the nailing fin instead of properly shingle-lapped
- Windows fastened before checking square, leaving hardware that binds within a year or two
- Sealant applied around the entire frame perimeter with no weep path left open
- Standard hardware finishes used on fully exposed, water-facing elevations
Every one of these is straightforward to avoid at the framing stage and expensive to fix once the wall is closed up.
Our Process for a New-Construction Job in Birch Bay
1. Site Visit and Window Schedule Review
We look at the plans, the lot's exposure, and the framing progress, then review the window schedule against what the home actually needs given its orientation to the water.
2. Ordering and Lead-Time Coordination
We place orders early enough to fit the build schedule, since window lead times can run several weeks and a late delivery holds up every trade behind it.
3. Rough Opening Check
Before install day, we confirm openings are framed correctly, square, and ready — catching framing issues before windows are on site saves everyone time.
4. Sill Pan, Flashing, and Install
We follow the shingle-lap sequence described above on every unit, sized to the home's actual exposure rather than a one-size approach.
5. Function Check and Sign-Off
Every window gets operated and checked for square, level, and proper seal before we close out the job, with photos and notes available to the builder or owner for their records.
Why Local Experience Matters for This Work
A crew that mostly works inland jobs may not think twice about hardware finish or flashing detail on a wind-facing wall — because most of their jobs never need it. Working Birch Bay and the surrounding Whatcom County coastline regularly means we've seen which details actually hold up out here and which ones fail early, and we build that into every install rather than treating it as an upgrade option. That's the difference between a window install that just meets code and one that's actually right for this specific stretch of coastline.
If you're framing a new home or addition in Birch Bay and want a straightforward look at your window schedule, options, and timeline, we're glad to walk the site and put together a free, no-pressure estimate. There's no obligation — just an honest look at what your build needs.